Spring Clean Your Pantry
By Kate Lohman, MS, RDN, LD
Just like the rest of your house, the pantry is a great place to do some spring cleaning. Food items can slowly accumulate and be forgotten over time. Are you always buying more of an item because you can’t remember if you have any left at home? Are you always tossing out food because it goes bad before you get a chance to use it? Organizing your food storage areas can help you cut down on food waste and have everything you need for a healthy meal on hand.
STEP ONE: Take everything out of your pantry.
As you remove items, check the expiration dates and throw out anything expired. Place unexpired and unopened food that you don’t plan to eat in a separate pile to donate to a local food pantry or community food drive. This step is a great opportunity to practice reading labels, especially if you’re trying to revamp your diet. Reading labels in the comfort of your own kitchen is easier than in the aisle of a grocery store. Look for excess sodium and added sugars – two ingredients Americans consume in excess that have a potentially negative effect on health. But you don’t need to throw out foods that are high in sodium or added sugar; eat what you have and look for products with lower sodium and sugar when you restock. Some sodium can be removed through rinsing — just remember to buy a lower sodium product next time.
You can store your meat in the designated meat drawer instead of a shelf. If you thaw frozen meat in the fridge, put the meat in a container with raised edges to keep liquid from the meat from contaminating other foods. This is especially important if the meat is thawing on the bottom shelf above your crisper drawer.
The crisper drawer is ideal for fruits and vegetables prone to wilting or turning soft. However, not all fruits and vegetables need to be refrigerated. In fact, some produce such as bananas, tomatoes, potatoes, and onions taste better when kept at room temperature.
The inside of the door is usually the warmest part of the refrigerator. Use these shelves for butter, dressings, condiments, juices, and other drinks. Don’t store eggs or milk inside the door — your fridge could get too warm for these items to stay safe.
Having a system for spring-cleaning your pantry and refrigerator can not only help you keep a clean, well-stocked kitchen with less waste and hassle, but you might also learn about your food buying habits along the way. Happy cleaning!
STEP TWO: Wipe down all surfaces.
After you’ve gone through the hard work of removing everything, you’ll want a clean space to store your food. Dust and spills accumulate over time, and bare shelves are easier to clean. It’s also a great time to lay down shelf liners to make future cleaning even easier.
STEP THREE: Organize your remaining food as you put it back.
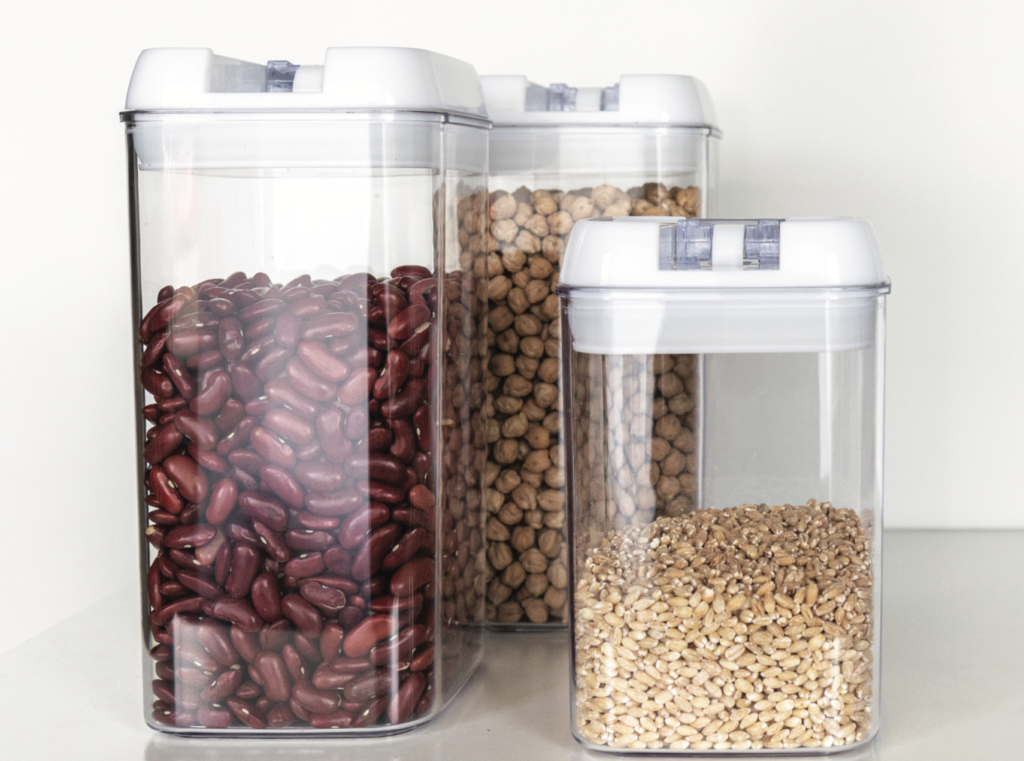
Like should go with like. Keep every can of beans together. All of your dry grains should go on the same shelf. Baking ingredients should be in the same spot. Use decorative baskets or containers to keep similar foods together and to prevent different food items from getting mixed up or lost on the shelf. Storing flour or sugar in clear containers instead of the original bags will cut down on mess and let you see how much you have left. Make sure to label your containers so you don’t mix up flour with powdered sugar or salt with granulated sugar!
STEP FOUR: Make a list of what you have and what you need to buy.
Keep a list of what you’ve returned to your pantry and use that list to make a second list of items to buy at the store. Remember to update your inventory. When shopping, don’t feel tempted to buy foods because they’re considered pantry staples. If you won’t eat it, don’t buy it. Focus on your personal eating habits. This will help you avoid filling your pantry with food you don’t want or plan to eat.
You can follow these steps for other food storage areas. The refrigerator is another place where forgotten and expired foods can accumulate. When cleaning and organizing cold storage, place your food in a cooler to keep it from thawing or getting too warm while you give your fridge a thorough scrubbing.
When returning food to your clean fridge, keep food safety in mind. Typically, ready- to-eat foods — items that do not need to be cooked before being eaten — should go on your top shelves to decrease the risk of cross- contamination with raw, uncooked foods. After you fill your top shelf with ready- to-eat foods, arrange the rest of your food from top to bottom based on recommended cooking time: Foods with lower cooking times go towards the top, higher cooking times go towards the bottom.